Our Hints
- Exclusive tile collections in stock
- In-store colour & design advice
- Bulk purchase discounts available
Contact Us
Contact Us
Thank you for contacting Northern Tile Gallery.
We will get back to you as soon as possible.
Oops, there was an error sending your message.
Please try again later.
Helpful Tips for Tiling Projects
At Northern Tile Gallery in Darwin, we know that the difference between a good result and a great one often comes down to the little things—like planning, preparation, and finishing touches. That’s why we’ve put together a collection of practical tiling hints to help you get the most out of your project. Whether you’re wondering how many tiles you’ll need, how to choose the right grout colour, or how to prep your surface, our expert advice covers the essentials. We’re here to guide you through everything from tile layout to sealing and maintenance—making it easier to avoid common pitfalls and achieve a high-quality, lasting finish.
Still have questions or need tailored advice? Give us a call on
08 8947 1182 or visit our Winnellie showroom to speak with our friendly, knowledgeable team—we’re always happy to help.
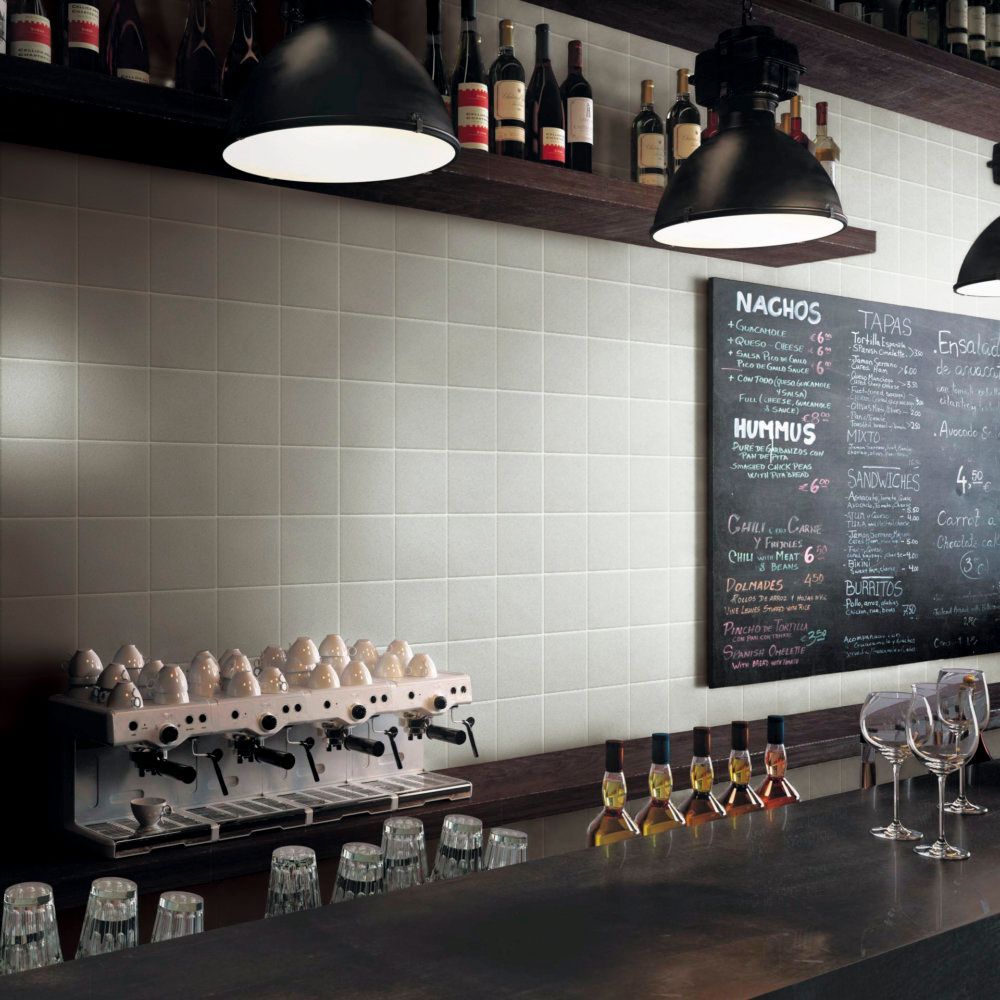
When you need advice, Northern Tile Gallery is happy to help. We know that adequate preparation ensures the best finish, so look to us for information on preparing your surface for tiles. Our market knowledge, combined with our 20 years of experience enables us to share expert tips on tiling with our clients. Read our helpful hints below to get you started on your DIY tiling job.
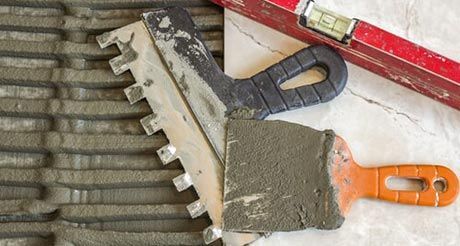
General Tips:
When buying your tiles, it is a good idea to buy some extra tiles. This will ensure you have plenty on hand if you need to replace any cracked or damaged tiles. To avoid any slight shade differences, shuffle the tiles between boxes.
Some tiles have a directional finish; so if this is not obvious when you begin tiling, look for a laying direction arrow on the underside of one of the tiles. When tiling walls and floors together, do the floor first, then the walls. This will hide the cuts on the edge of the floor tile.
Before You Begin:
Make sure the floor due to be tiled is firm and level. Bumps will cause tiles to crack, so remove all high spots and fill any low spots. Wet areas need to be treated with a waterproofing compound that meets Australian Standards. Powdery spots will need to be prepared with an approved sealer before being tiled.
Ensure that all of the surfaces to be tiled are structurally sound. They should be dry, clean and free from any movement, with all building boards firmly fixed according to the manufacturer's instructions. Porous or dusty surfaces must be primed before beginning.
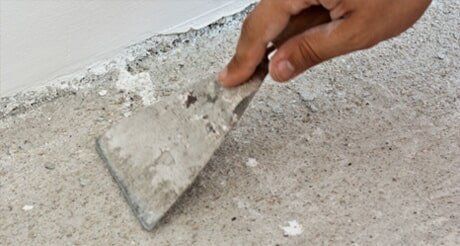
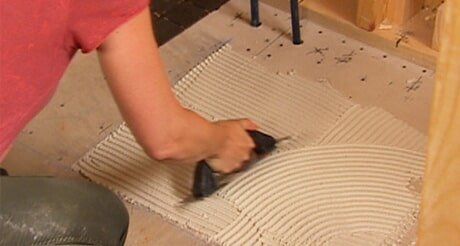
Surface Preparation:
Newly rendered or screeded surfaces must be allowed to cure for at least seven days and have a wood float finish. New concrete must be allowed to cure for six weeks and should have a wood float finish. Old rendered or screeded surfaces must be thoroughly cleaned prior to tiling and have a wood float finish.
Old concrete surfaces must be thoroughly cleaned prior to tiling. Remove all release agents, especially on tilt-up slabs. Steel trowel-finished concrete must be acid etched or mechanically abraded prior to tiling.
Wall Tiling:
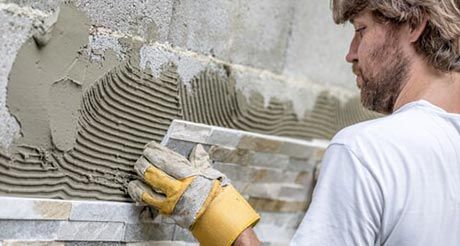
When tiling a complete wall, fix a temporary horizontal batten with the upper edge a tile width from the floor or skirting board and level this with a spirit level. Decide which end of the wall you wish to begin tiling and then chalk a vertical line to assist you. Use an adhesive that has been recommended by the manufacturer and spread it evenly over the section you are tiling. Press each tile firmly onto the adhesive and work in horizontal rows.
To cut tiles to fit, place the tile against the wall upside down. Mark off the edges to cut, allowing space for grout and working room. Once cut, turn the tile over and rotate to fit.
Floor Tiles:
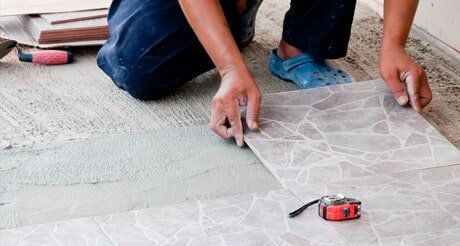
Tiles are laid from the centre of the room outwards, covering only a small section at a time. Lay the four centre tiles in position to coincide with the crossed chalk markings. Do not push the tiles together, as this can force adhesive to bunch between the tiles. Use a damp cloth to wipe off any excess adhesive before it sets. Finish one area before moving onto the next.
To cut tiles to fit the edges, place a loose tile over the last tile in the row. Place another tile on top and slide it until it is touching the wall. Mark the inner edge with a pencil, then a second line inside the first to allow room for grouting.
Applying Adhesive:
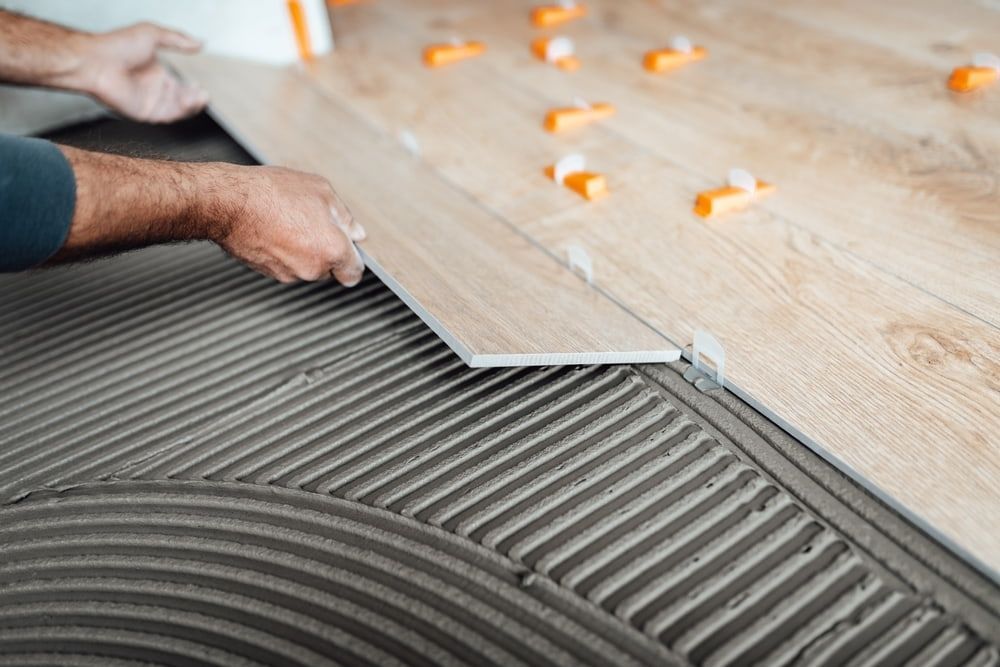
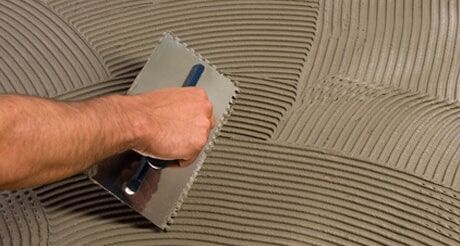
Coat the back of the tiles with lugs or grooves, or larger tiles, with adhesive before placing. This will ensure adequate coverage with adhesive and better bonding to the wall. Make sure the adhesive does not begin to dry before laying the tile. If the area is fully primed, you should be able to coat approximately 2m2 of floor space.
Press tiles firmly into position and make sure they are bedded with no gaps in the adhesive. Try to check the adhesive coverage is adequate by lifting a tile carefully. Once the adhesive has been applied and the tiles bedded, do not allow foot traffic over the area for at least 24 hours.
Grout:
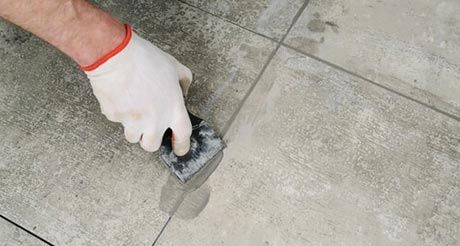
Allow the adhesive at least 24 hours to set before filling the gaps between the tiles with grout. Grout can be purchased as a pre-mixed paste, or in powder form to be mixed with water. Make sure the powder is mixed to a stiff consistency. Ready-mix grouting is also available in a range of different colours.
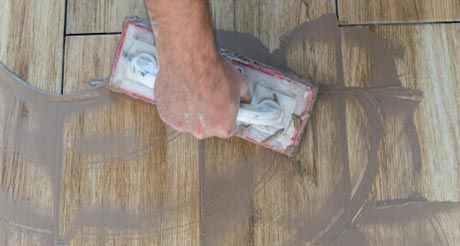
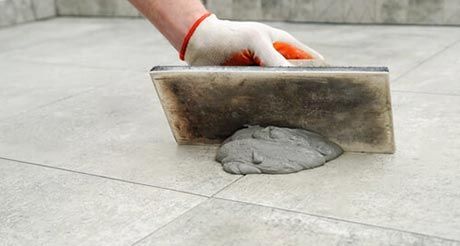
Using a liberal amount of grout, spread with a grout spreader, push it well into the joins. Remove excess grout from the tiles surface with a squeegee. Use a clean, flat sponge to wipe away any excess grout before it sets. For wall tiles, use a plastic scrapper along the wall joints to leave a neat finish. When the grout has set, polish the tiles with a soft cloth.
Replacing Broken Tiles:
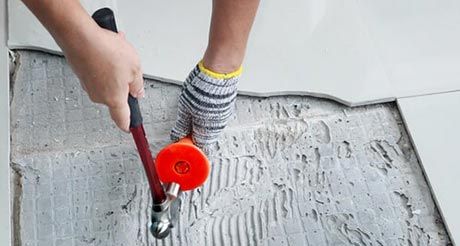
Be sure you are adequately protected with safety gear before commencing tile removal. Dig out the grout with a sharp tool, such as a scraper or rake. Using a hammer and chisel, chip away at the tile (from the centre). Scrape out the old adhesive and use a brush to remove the dust.
Place the new tile in position and use your spirit level to ensure it is flat; keeping in mind the tile will be slightly lower than the surrounding tiles while there is no adhesive. Apply a fresh batch of adhesive and press the tile into position. After the adhesive has set, you can regrout around the tile.
Tile Regrouting:
After a period of time, or heavy use, the grouting between tiles tends to become grazed or discoloured. Once this happens it is best to remove the old material and regrout. Use a pencil-point tile-cutting tool to scrape out hard grout and a piece of bent wire if the grout is soft, being careful not to chip the tiles.
When the old grout has been removed, brush away loose dust and treat the cracks with a fungicide to prevent the growth of mould. Press the new grout into the cracks and wipe away any excess with a damp cloth. Leave the grout to dry before polishing the tile with a soft cloth.
Grout Spreader:
You will need a spreader to ensure grout is pushed into the gaps between each tile. It is also used to remove any excess grout before it begins to set. The spreader's material is soft enough to ensure the tiles are not scratched during the grouting process.
